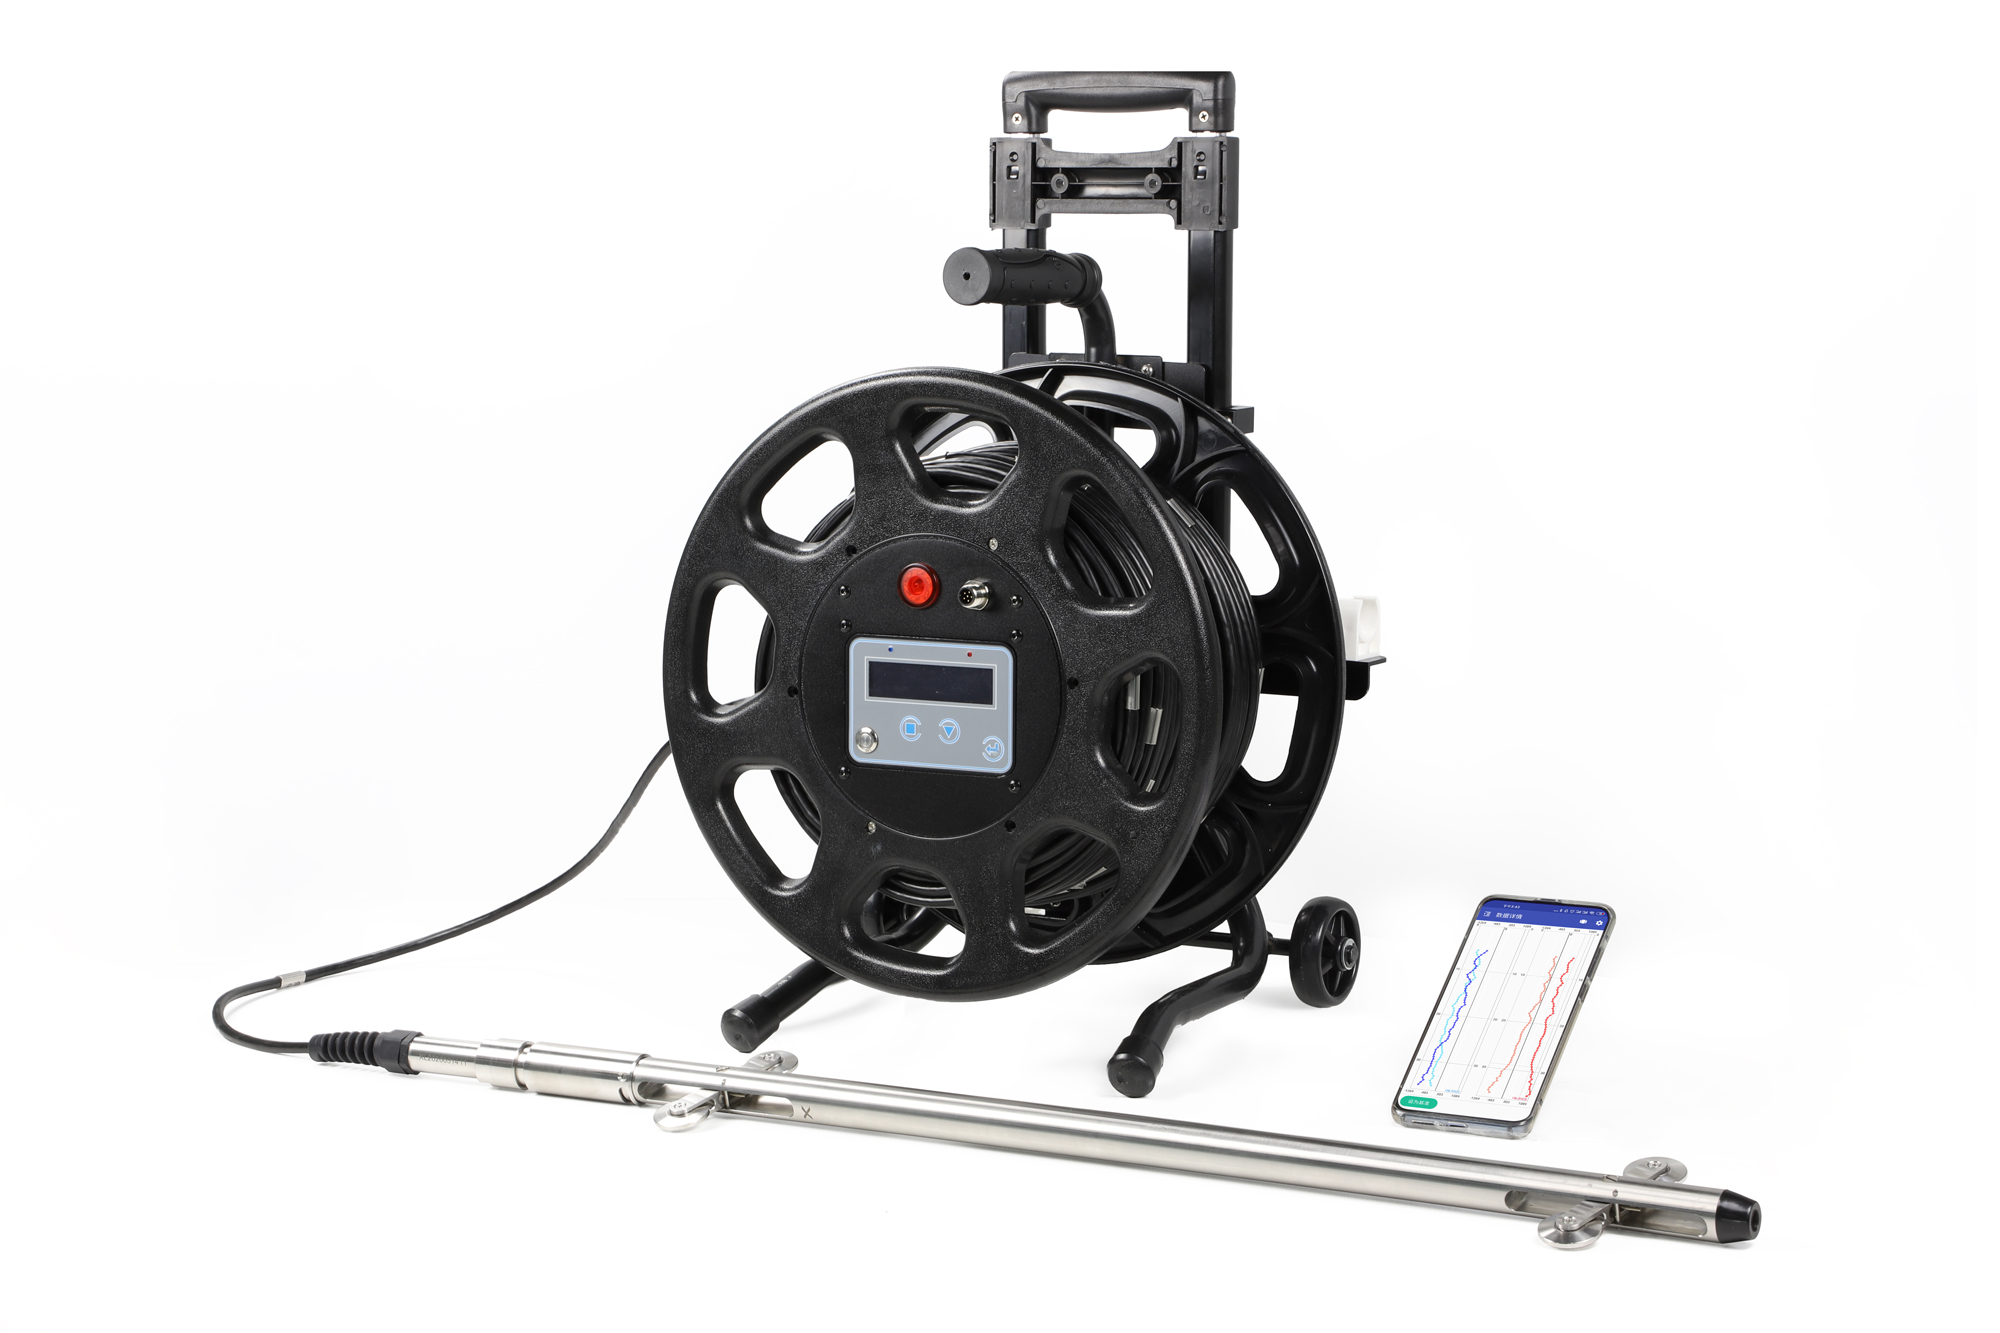
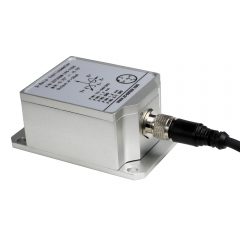
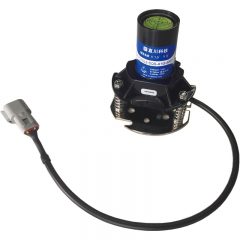
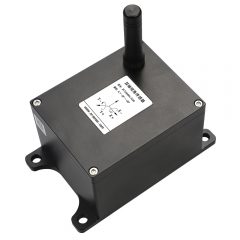
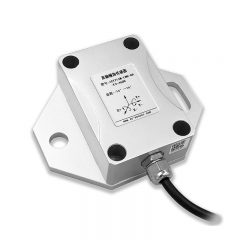
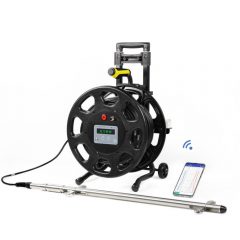
| Product Model : | ZCT-CX03E-XP230 |
| Measuring Range : | ±30 ° |
| Output : | Bluetooth |
| Measuring Axis : | Dual Axis |
| Accuracy : | 0.001°-0.005° |
| Resolution : | 0.001° |
| Application : | Geo/Structural Monitoring |
| IP Degree : | IP68 |
| Temperature : | -40℃ ~ +85℃ |
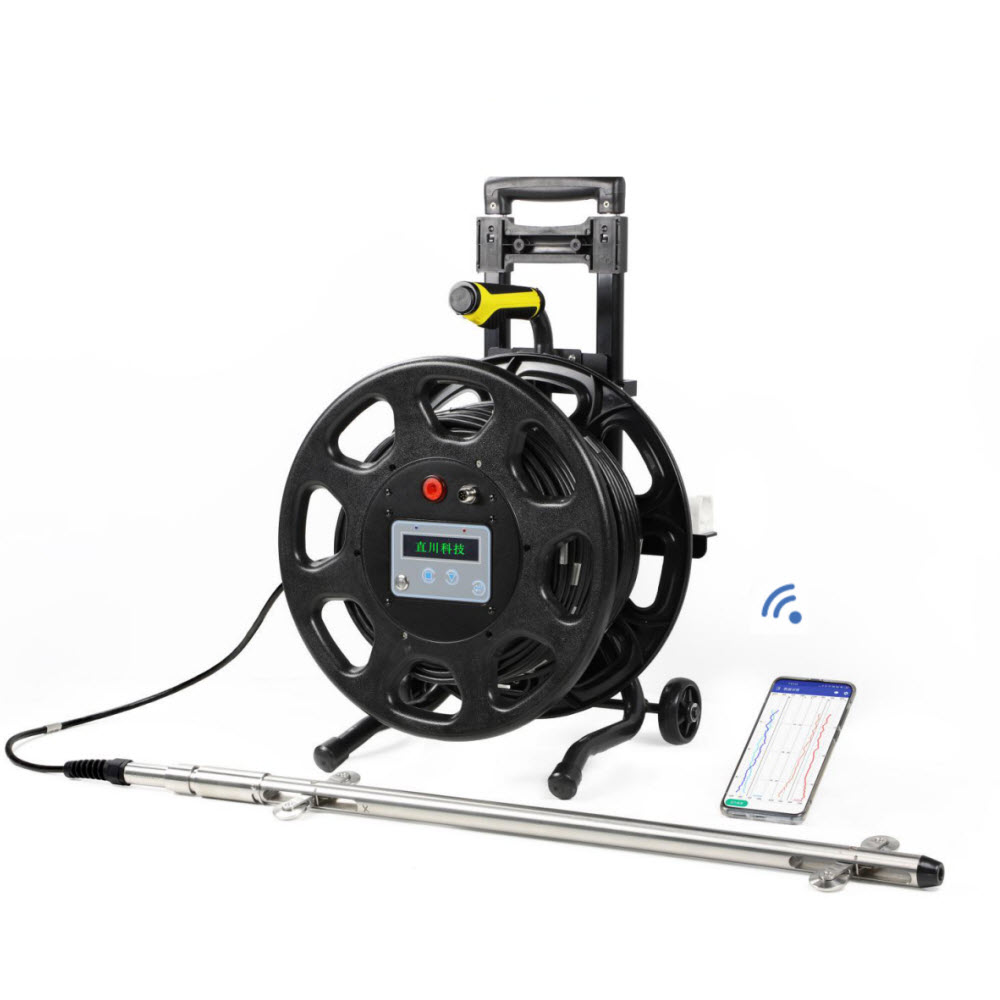
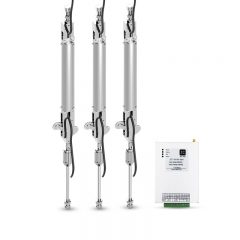
Inclinometers are widely used around the world to monitor the deformation of slopes, embankments, dams, foundation pits and tunnels. By measuring the inclination angle of a sensor probe at different locations inside a casing, we’re able to obtain data of soil displacement in vertical or horizontal direction. An inclinometer kit consists of a sensor probe, a mark cable and a datalogger.
The inclinometer casing is usually installed in a vertical drilling hole through the unstable soil layer to the lower stable soil layer. The first observation can establish the initial section of casing movement, based on which the magnitude, direction and speed of soil displacement at certain locations can be measured through subsequent observations.
ZCT-CX03E is the latest Bluetooth inclinometer system developed and manufactured by Shanghai Zhichuan Electronic Tech Co., Ltd. With the inclinometer, measurement activities can be configured by anAndroid mobile phone, and data collected can be uploaded immediately to the phone. With the Android app, functions such as hole locating, measurement, display, storage, alarming, data analysis and data import/export can be easily realized.
Major advantages of ZCT-CX03E:
l anti-vibration
l stable and reliable
l high protection grade
l wide measurement range
l high resolution and accuracy
l portable, smart and user-friendly
l real-time data display and uploading
Specifications :
Unless otherwise specified, the following parameters are typical at room temperature (25℃)
| Item | Conditions | Minimum value | Typical value | Maximum value | Unit |
| Measuring range1 | -15 | +15 | degree | ||
| Resolution | 0.001 | degree | |||
| 0.02 | mm/m | ||||
| Probe accuracy | ±0.005 | degree | |||
| System repeatability2 | 30m | ±1 | mm | ||
| Protection grade3 | probe | IP68 | |||
| datalogger | IP67 | ||||
| Cable | 6.8mm dia | 60 | m | ||
| Probe size | diameter * length | 25*710 | mm | ||
| Continuous working time | 25℃ | 10 | hour | ||
| Operating and storage temperature4 | -20 | +60 | ℃ | ||
| Outer size | packing without cable reel | 985*425*175 | mm | ||
| cable reel | 350*250*430 | mm | |||
| Gross weight | without cable reel | 15 | kg | ||
| Standards | JB∕T 12204-2015 | ||||
| GB50026-2007 | |||||
| ISO18674-3-2017 | |||||
Note:
1-In case otherranges are required, contact Shanghai Zhichuan Electronic Tech Co., Ltd.
2-System repeatabilityvaries when different operators use different casings, probes, cables and/or dataloggers under different environment temperatures. The data in the table is based on repeated measurement results at different depth (30m deep to the top, 0.5m interval, so 60 readings each time) under the same conditions at the factory, which represent the deviation range of accumulated displacement. The same conditions refer to the same standard hole, the same operator, the same test method and procedure, the same instrument and the same environment factors.
3-For the probe: 100munder water, xx hours without water leakage; for the datalogger: 1m under water, no water leakage for half an hour. These are factory test results. Watertight quality may decrease as the instrument ages, and the rate of aging is closely related to the environment and frequency of use. Timely maintenance of the instrument is recommended.
4-The product is powered by rechargeable Lithium-ion battery. Please make sure that the environment temperature is within the temperature range before charging the battery, so life span of the battery may not be shortened. Do not charge the battery when environment temperature is below zero.
Details of key components
1-Sensor probe
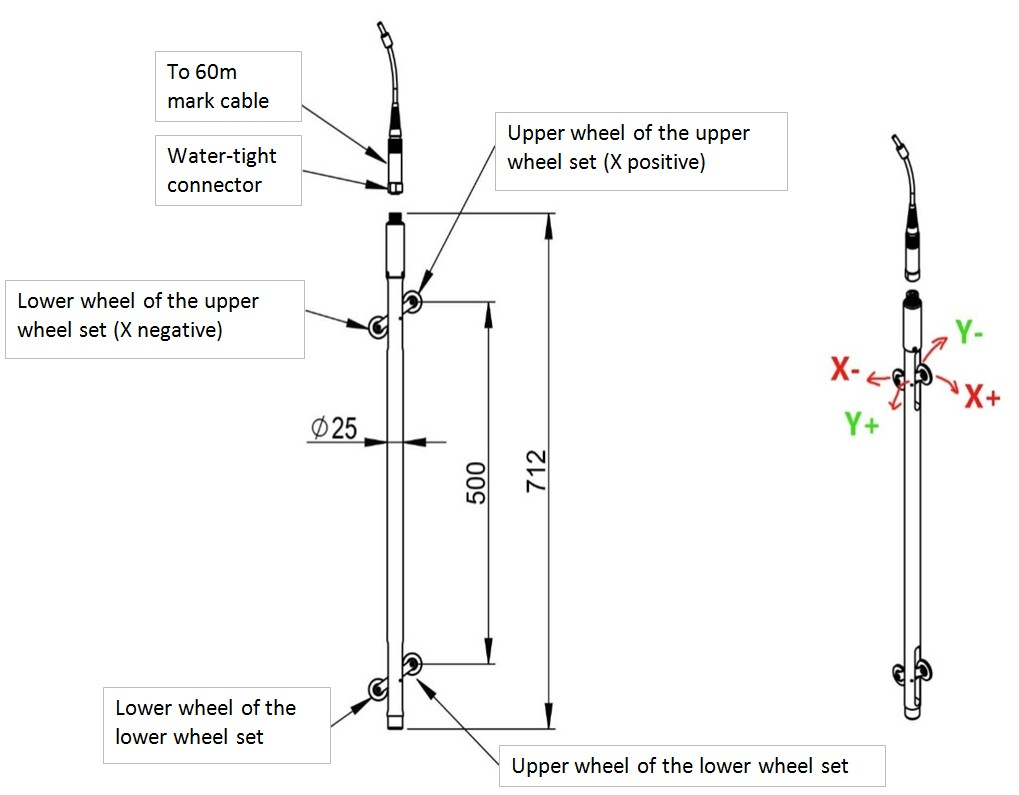
1.1 Composition, dimension and measurement direction
1.2 Instructions for use
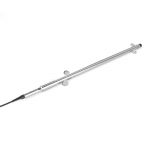
1.2.1 The sensor probe consists of stainless steel housing, cable joint and two guide wheel sets.
1.2.2 The plane where the wheel sets are located is defined as X directions, and the upper wheel represents the positive direction. That is to say, the reading is positive when the plane tilts in this direction. The plane perpendicular to the plane where the wheel sets are located is in Y directions. The positive and negative Y directions are shown in the figure above.
1.2.3 For standard measurement, the probe needs to be lifted twice from the bottom to the top of the inclinometer casing. The first time is often called the positive measurement, and the second time is often called the reverse measurement.
1.2.4 When the inclinometer casing is installed, one group of guide grooves shall be aligned with the expected inclination (displacement) direction. In particular, during the first measurement, the positive X direction (the upper wheel direction) shall be towards the expected displacement direction, so displacement data collected is positive.
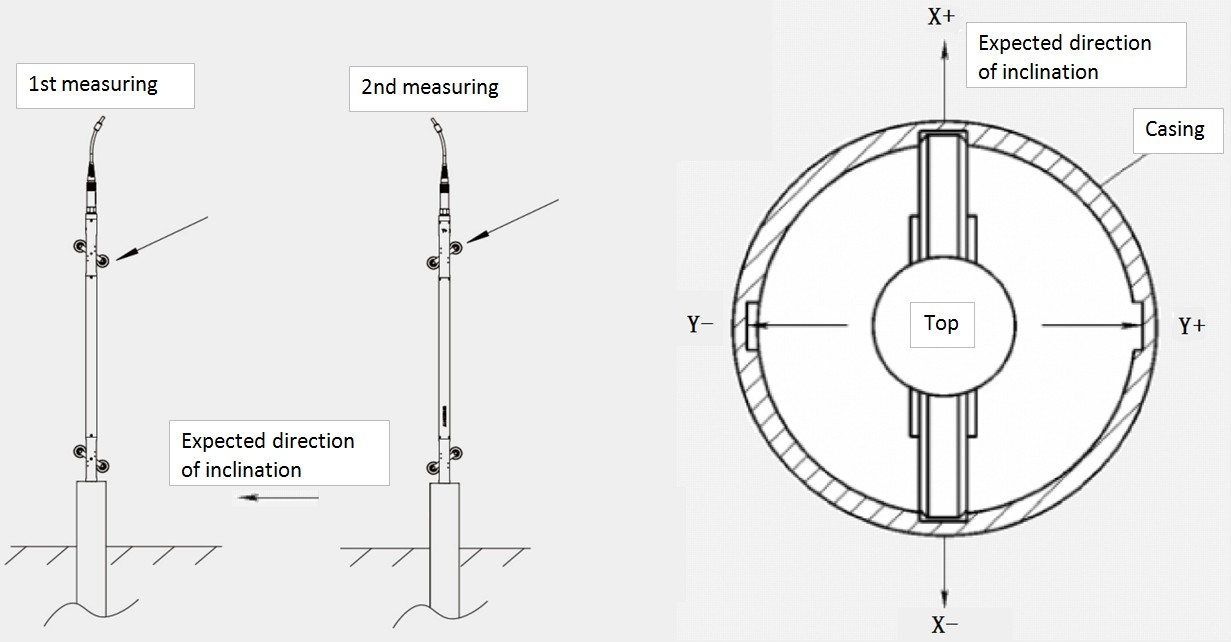
When measuring each hole, it is necessary to ensure the consistency with the first measurement (same probe, same directions, same depth settings etc.), otherwise data analysis could be wrong.
1.3 Maintenance
1.3.1-Do not disassemble the probe.
1.3.2-Keep the cable joint clean. If necessary, use cotton with a little alcohol to gently wipe.Do not spray lubricant or detergent into the joint, otherwise the pins and o-ring might be corroded.
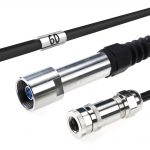
1.3.3-When connecting the cableto the probe, avoid over-tightening the nut, which may damage the screw threads.
1.3.4-The o-ring shall be inspected and cleaned regularly, and special lubricant can be used.If the o-ring fails, replace it in time.
1.3.5-The guide wheelsshould not bear too much axial force.
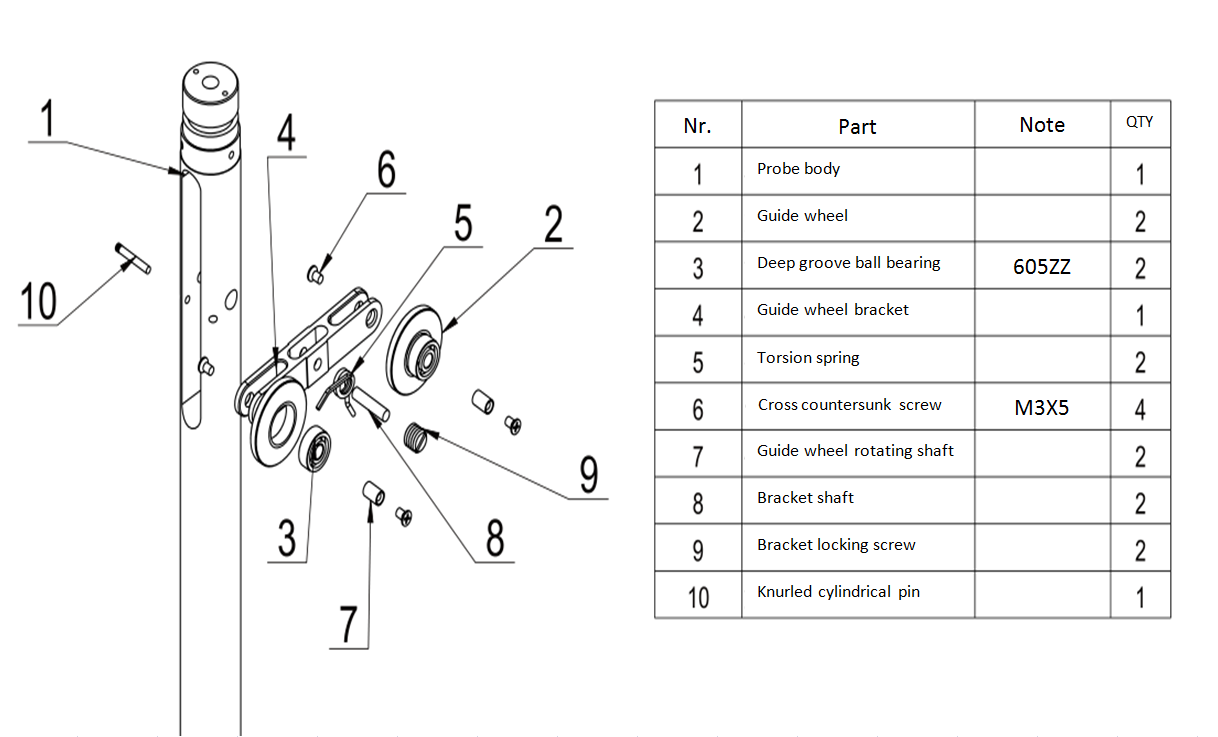
1.3.6-Thewheel set (wheels, bearings and springs) is a vulnerable part and it needs to be replaced if the fatigue wear affects the measurement accuracy. See below figure for method of disassembly
2-Datalogger
2.1 Description
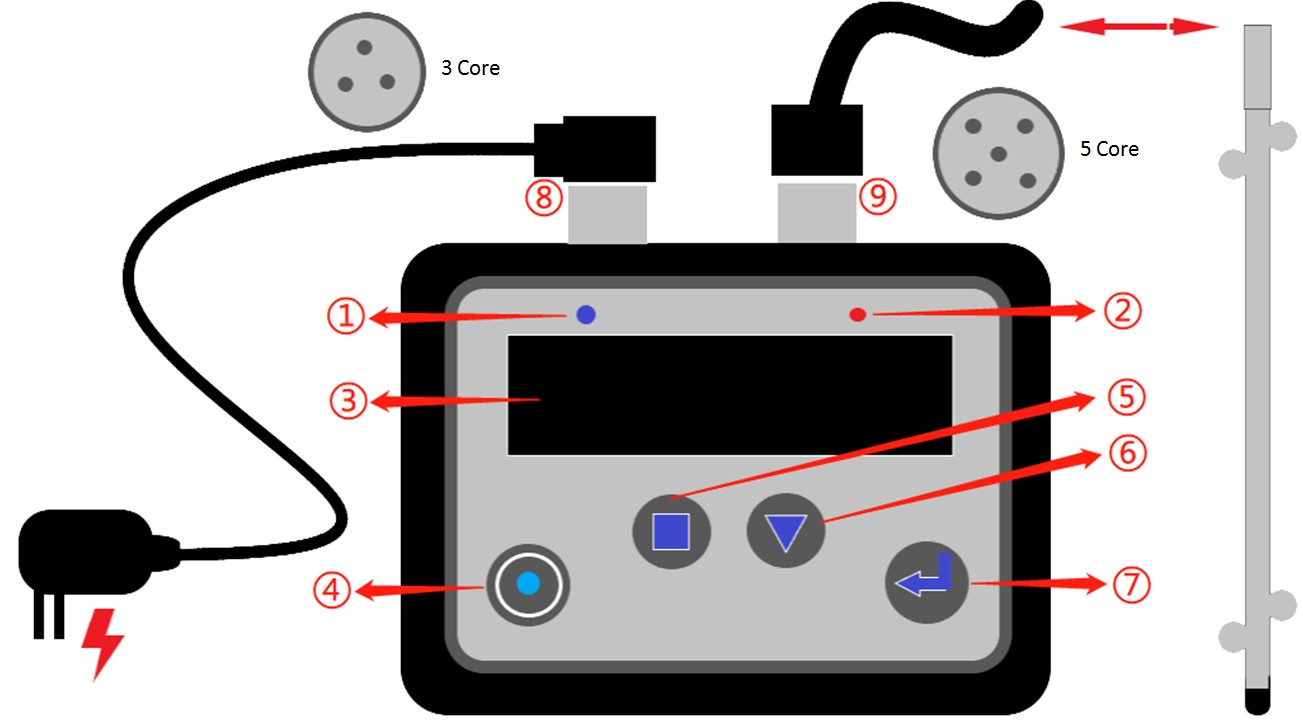
① Blue indicator light indicates the communication conditions. It flashes at 0.5Hz when Bluetooth is not connected. It lights up briefly after successful communication with the mobile phone during measurement.
② Red indicator light indicates if the data is stable during measurement.
③ Display is a 3.12″ OLED screen, with functions such as prompting operations and displaying data.
④ Power switch with an indicator light that shines when power is on
⑤ Key 1 (square key) for positioning and canceling measurement
⑥ Key 2 (triangle key) to move the cursor
⑦ Confirm key to confirm and save (for example, confirm hole selection, save current reading)
⑧ 3-core connector for charging
⑨ 5-core connector to connect the probe
FAQ’s
① Why does one borehole need to be measured twice?
Answer:
Measuring twice has two significant advantages:
1-It eliminates point drift of the sensor. If the deviation between the values collected and the original value is found to be increasingly larger, the probe needs to be returned to Zhichuan for calibration.
2-It reduces the influence of random error. By measuring twice, we can judge the authenticity of the data and evaluate a change in the performance of the sensor. The values obtained from positive and reverse measurements should be basically the same. Abnormally larger deviation of data at a certain depth means unreliable data and we need to re-measure the hole.
② Is there any way to judge the reliability of this measurement?
Answer:
After each measurement, the system will analyze the data and evaluate the quality of the measurement. The threshold can be pre-set according to the engineering requirements.
③ Why in practice the repeatability does not reach what is stated in the datasheet?
Answer:
The measurement repeatability of the system is closely related to factors such as installation job of the inclinometer casing, quality of the probe, the cable and the datalogger as well as operating style and environment temperature.
The most common reasons are improper installation of the inclinometer casing and mismatch between the guide wheels and the guide groove. In the case of the latter, contact Zhichuan for the supply of customized guide wheels.
④ Are the new and old versions of the Zhichuan inclinometer compatible?
Answer:
Many modifications have been made for the new inclinometer to achieve better performance and user experience. The new probe cannot work with the old datalogger, and the new datalogger cannot work with the old probe.
However, the data format of the new and the old version is the same, so old customers can get used to the new product easily and quickly.

ZC Geotechnical Inclinometer Contribute for Rwanda’s Largest International Airport Program
